Showing posts with label bread. Show all posts

Thursday, July 3, 2014

Easy Buttermilk Biscuits... from Scratch!

Biscuits are not unfamiliar at our home. They are one of Matt’s favorite breakfast dishes, especially when paired with sausage. I love biscuits with melted butter and raspberry jam, and can eat them by the plateful.


It’s hard to find a flaky, flavorful recipe for buttermilk biscuits that doesn’t involve a pre-made mix, or that doesn’t feel painfully excruciating and complicated. That’s why I love the recipe found in Mac and Cheese Cookbook by Allison Arevalo and Erin Wade.

These lovely cooks suggest not over-mixing your dough, which allows for a fluffier, lighter biscuit. I was skeptical at first, but after eating these beauties, I have a hard time believing I’ll try anything else. As a bonus, this biscuit recipe is deceptively simple, making them a perfect choice for brunch, breakfast and snack time.  Enjoy!

Easy Buttermilk Biscuits 


Ingredients: 
2 cups all-purpose flour
1 tablespoon sugar
1 tablespoon baking powder
½ teaspoon kosher salt
8 tablespoons cold unsalted butter, plus melted butter for topping your biscuits
1 cup buttermilk

Instructions:
  •  Preheat your oven to 450°F. Grab a baking sheet and line it with parchment paper. 

  • Mix your flour, sugar, baking powder and salt. 


  • Cut your butter into small chunks or pats, and slowly incorporate the cold butter into your flour. Use your pastry cutter to blend (if you’ve got a mixer, use your paddle attachment on a low speed). Your batter will be coarse. 


  • Add your buttermilk and mix your batter until the ingredients are barely mixed together.


  • Turn your dough out onto a floured surface, and pat it into a thick round, about an inch thick.


  • Take a cookie cutter and cut rounds of dough (about 2-inches in diameter). Place them onto your lined baking sheet, and brush them with melted butter. 


  • Bake for about 10 minutes, or until your tops are a nice, golden brown. Allow them to cool, and then enjoy them by the bunches.


Sunday, June 15, 2014

Fabulously Fluffy French Toast

Happy Father’s Day to all those Papas out there! I hope you’re being spoiled with love, affection, gifts and great food today.

While my husband and I aren’t having children any time soon, that does not mean that we can’t eat in celebratory style today. For me, that means making something fluffy, sweet and filling. While pancakes typically play a huge part in our breakfast repertoire, I wanted something a little different. Why not French toast?


My grandma used to make French toast for her grandkids practically every time that we slept over. Not that we complained; hers was the best French toast, beating out our mothers’ attempts.

Now, I’m happy to have found a recipe that marries her sweet recipe with something that you’d expect to find at a restaurant. I hope you enjoy!

Fabulously Fluffy French Toast


Ingredients
 1/4 cup all-purpose flour
 1 cup milk
 1 pinch salt
 3 eggs
 1/2 teaspoon ground cinnamon (or a scant ¼ teaspoon allspice)
 1 teaspoon vanilla extract
 1 tablespoon white sugar
 12 thick slices bread
butter or butter spread, for cooking

Directions
  • Measure flour into a large mixing bowl that is deep enough to dredge your bread in. Slowly whisk in the milk. 

  • Whisk in the salt, eggs, cinnamon, vanilla extract and sugar until smooth.


  • Heat a lightly oiled griddle or frying pan over medium heat. While it gets to the right temperature, soak your bread slices in the mixture until saturated. You may need to flip the bread once in order to soak it completely.

  •  Cook bread on each side until golden brown with a pat of butter or cooking oil. 
  • Serve hot.


Don't forget to add your favorite toppings, like butter, syrup, fruit and powdered sugar!

Wednesday, April 2, 2014

Garlic knots in under 30 minutes

My husband is a pasta fiend. He is perfectly happy eating spaghetti, lasagna, and ravioli every meal of every day. With that said, I happily indulge him. I’m all for a good plate of carbs.

Of course, nothing completes a plate of pasta like a delicious garlic bread on the side. Normally I just run to the grocery store to buy bread and throw it in the oven to toast it, but this time, I tried to make my own garlic butter knots.


The recipe, which I adapted to my own tastes, makes a batch of delicious rolls that pairs with pastas in red, white and blush sauces. If you’re like me, and are only just starting to make bread with yeast, this is the way to start. Enjoy!

Garlic knots


1/4 cups butter
1 cup milk
2 tablespoon active dry yeast
1 tablespoon honey
½ teaspoon salt
1 large egg
3 – 3 ½ cups all-purpose flour


  • Preheat your oven to 400 F, then line a cookie sheet with parchment paper.
  • In a small saucepan, melt your butter. 


  • When the butter is nearly melted, stir in the milk. You’ll want to stir the mixture until it reaches just above body temperature.

  • Add yeast and honey to a large mixing bowl. 

  • Once the milk mixture is at the right temperature, add it to the yeast and honey. Stir the mixture completely, and allow the mixture to stand for 10 minutes until it becomes foamy.
  • Add the salt and egg to your batter, and stir until combined.
  • Start adding your flour by adding an initial 2 ½ cups of flour to the mix.
  • Slowly add your remaining flour until dough cleans the sides of the bowl.
  • Knead your dough for about 5 minutes.
  • Lay out your dough, and shape your dough into a long rectangle, slicing the dough into 12 strips.

Try to keep the strips as even as possible for uniformity.
  • With lightly floured hands, shape each dough strip into a knot, and place the dough on prepared baking sheet.


  • Cover the knots and let the dough rest for 10 minutes.
  • Bake for about 9-12 minutes, or until lightly golden brown.

As you wait for your knots to bake, it’s time to make your garlic butter.

Garlic Butter for topping

2 tablespoons butter
2 cloves garlic, minced
1/2 teaspoon Italian seasoning
¼ teaspoon garlic powder
3-4 tablespoons grated Parmesan cheese (optional)

  • Stir together your ingredients for garlic butter.
  • After removing the rolls from the oven, brush each knot with your garlic butter, and enjoy.


Saturday, March 8, 2014

Amazing Apple Challah

Now that I’ve overcome my fear of yeast, I really wanted to have some fun with sweet bread.

There’s nothing better than a great piece of sweet bread, typically with fruit, toasted and buttered in the morning. I decided to make my own. I found a beautiful recipe for challah bread, and couldn’t wait to adapt it to my own preferences.


This bread is light. It’s fluffy. The crust captures all of the delicious and makes you smack your lips. Enjoy!

Apple Challah


Bread ingredients

2 tablespoons dry yeast
1 tablespoon plus ¾ cup granulated sugar
5 large eggs
¾ cup vegetable oil
¾ teaspoon kosher salt
6 cups flour


Filling ingredients

1 large firm-tart apple, peeled, cored, and cut into small cubes½ cup raisins (I opted not to use these)
3 tablespoons lemon juice
2 tablespoons honey
½ teaspoon ground cinnamon
1 egg yolk

  • Combine ½ cup of warm water, the yeast, and 1 tablespoon of sugar in a small bowl. Stir until the yeast dissolves. You need to wait for the mixture to activate, which should take approximately 10 minutes.
  • Take your hand mixer or (if you’re lucky) standing mixer, and beat the eggs at medium speed until blended. Add the oil, salt, and remaining ¾ cup sugar. Beat until pale in color. Add 2/3 cup of water and yeast mixture. Once this has been well blended, add your flour, one cup at a time.

 
Your dough will be slightly dry.
  • Place your dough onto a floured surface and knead for 2 minutes (This can also be achieved with the use of a dough hook on your mixer for 1 minute at low speed). Put the dough in a lightly oiled bowl and coat the entire batter. Cover with plastic wrap and a kitchen towel and put in a warm corner of your kitchen to rise. Allow for the dough to double in size, which takes just about an hour.
  • Punch down the dough, rewrap with plastic wrap and a kitchen towel, and let the dough rise for another 30 minutes. It should puff up slightly, but it won’t get doubled in size.


I used all spice instead of cinnamon; stupid allergies.
  • As you wait for this final rise, you can begin to make your filling. Take your apple, and toss it with lemon juice, honey, and cinnamon in a small bowl. Let sit for 20 minutes, and then drain any liquid. 

  • Take your dough, place it on a lightly floured surface and divide it in half. Divide each half into three equal parts. Roll out each of the three pieces to form a 12-inch strand, then try to pat each strand down into a flat rectangle. Spoon your apple mixture down the center of each rectangle. Fold over the dough to tuck your filling into place, and roll each rectangle, pinching the ends tight. You’ll end up with a 15-inch strand.
  • Preheat the oven to 400°F before you begin braiding the dough. Once the bread has risen, set the rack to the middle position.

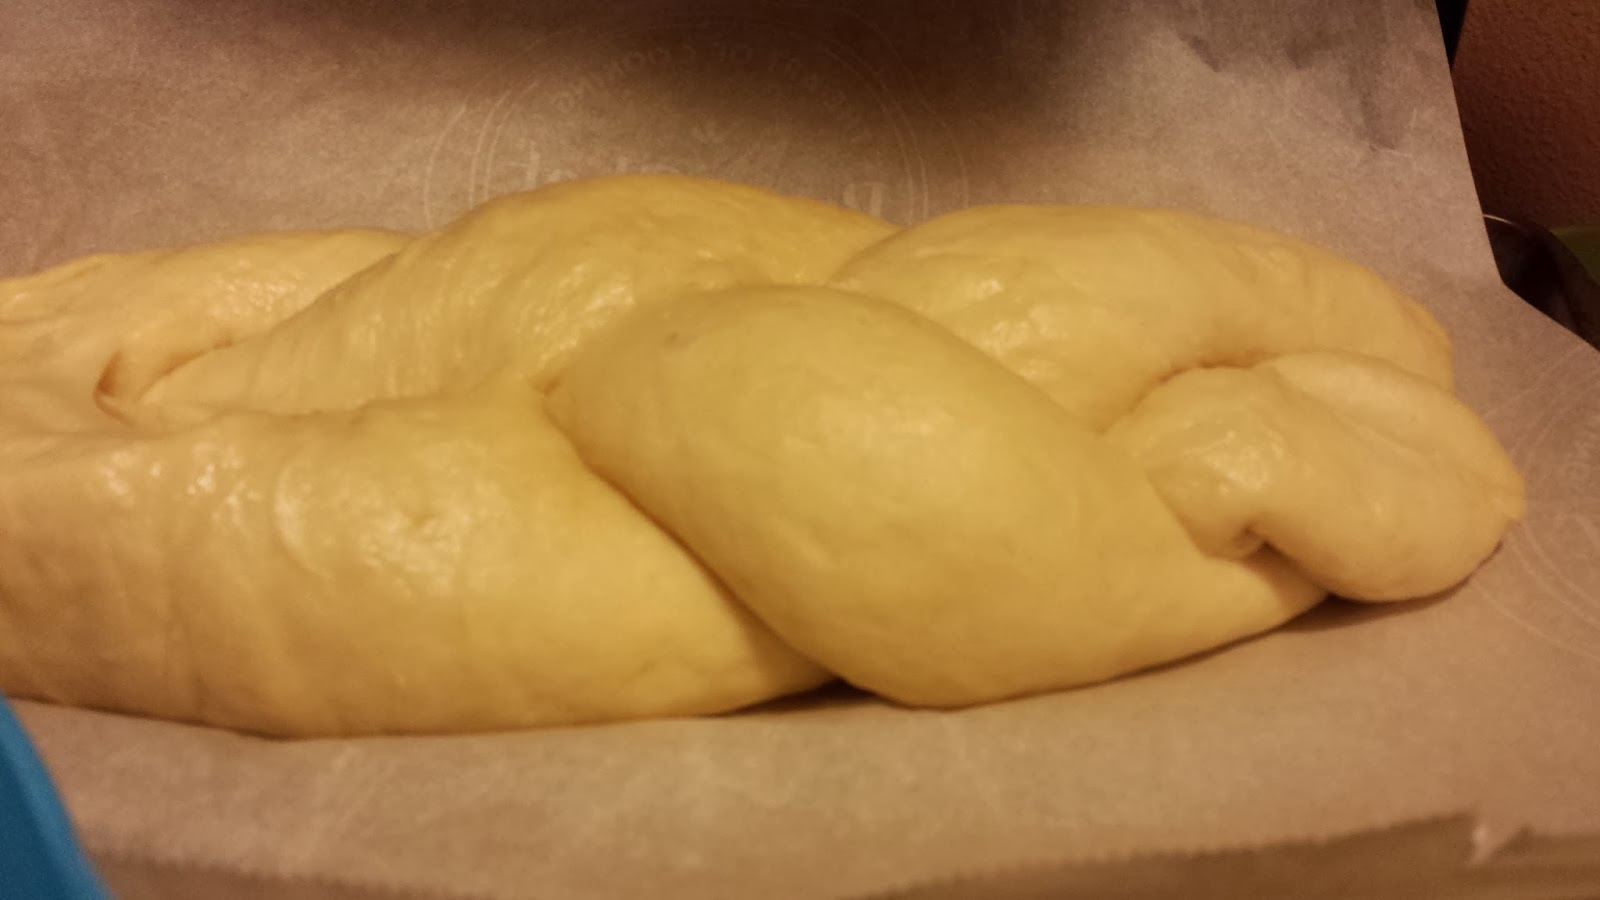
  • Now to make the bread. Put three of the ropes on a baking sheet. Braid the ropes together, and pinch at the top and bottom. Repeat with the other three strands on a separate baking sheet. Cover the loaves with kitchen towels, and let them rise for 45 minutes.


  • Whisk an egg yolk with 1 tablespoon water and brush over the tops of the loaves.

  • Finally, bake your loaves for 10 minutes, then reduce the heat to 350°F and bake until the crusts are browned and the bread is puffed and light, which should take another 30 minutes.

 
Look at how pretty!
  • Transfer the loaves to a rack and let cool for 30 minutes before serving.


Tuesday, March 4, 2014

Delicious dinner rolls, Texas Roadhouse Style

I love eating bread. It’s not uncommon for me to sit across from the panaderia (That’s a Mexican bread shop, for you gringos) and drool until the freshest buns come out. Then I inhale them. 

I’ve always wanted to try my hand at making bread, but was always terrified about the idea of working with yeast. Yeast. It sounds horribly difficult. However, if you’re afraid of something, face it head on. So here we go. I decided to follow a great recipe that I pulled off of Deliciously Yum. She mimicked Texas Roadhouse Rolls, which are sweet. Buttery. Delicious. It’s like eating a pillow and a marshmallow, but a lot better, because no one frowns on it.


So… don’t be afraid like me. Don’t be ashamed to eat these. Enjoy. Don’t share.


Wannabe Texas Roadhouse Dinner Rolls


Yields 18

2 1/4 (1 envelope) active dry yeast
1/4 cup lukewarm water
1 cup lukewarm milk
3 tablespoons melted butter, slightly cooled
1/4 c. sugar
4 cups all-purpose flour
1 large egg
1 teaspoon salt
melted butter for basting rolls

Instructions
1. Combine yeast and lukewarm water in your bowl and let stand for 10 minutes (until yeast starts to foam and bubble).


2. Add milk, melted butter and sugar to the yeast mixture and mix well. If you’re luckier than I am and have a standing mixer, use the paddle attachment. 

3. Add 1 cup to 1 1/2 cups of flour to make a batter.  You want it to be very wet.


4. Add egg and salt and mix well. Again, if you have a mixer, switch to the dough hook and with the mixer running on medium speed, add remaining flour. Continue mixing for 5 minutes or until dough is smooth. I used my mixer, and a rubber spatula. 


5. Sprinkle some flour onto the counter and place dough on top. Let it rest for 10 minutes. While it rests, grease another bowl with butter. Place dough inside. Cover the dough with a clean kitchen towel and place in a warm place until dough has doubled in size, about 1 hour.

6. Remove from the bowl and punch dough down. Place dough on floured surface and roll out into a square about 1/2 inch thick. 
7. Cut your dough into rectangles, about 3 inches by 2.5 inches. Place dough onto a parchment-lined baking sheet. Cover with a towel and let rise again until doubled in size, about 45-60 minutes.


This is far too long. I had to recut these bad boys down.


Now we let them RISE.
Nice and puffy.

8. Preheat oven to 350 degrees and bake for 10-15 minutes. You’ll know it’s ready because the bun tops will be golden. Remove from oven and baste those buns with melted butter.


9. Enjoy them quickly.